Join our latest webinar on Vendor Payment Fraud in the Age of AI: What SMBs Need to Know? Jun 17, 2026 | 2:00 PM CT Register Now
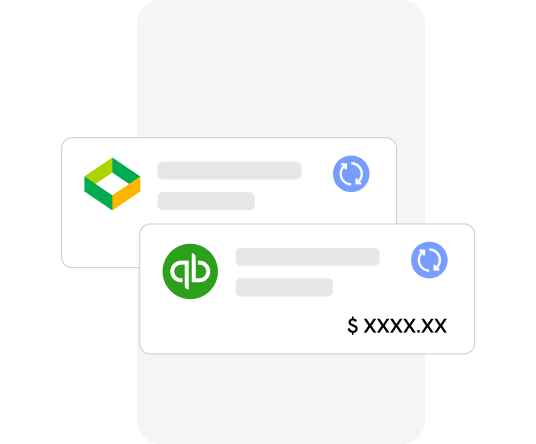
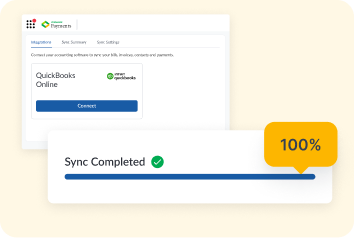
Eliminate dual data entry and manual work. Connect your QuickBooks Online with ZP and manage your accounts payable and 1099 compliance, all in one place.
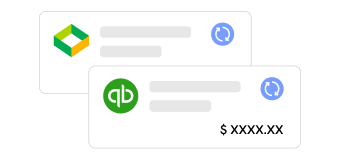
Bills, vendors, and payments synced automatically.
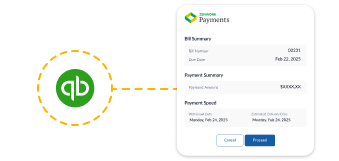
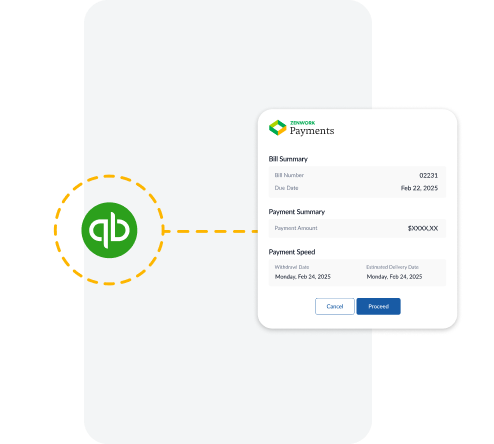
Zenwork Payments pulls unpaid bills from QuickBooks Online, so you can review, approve, and pay them without manual entry.
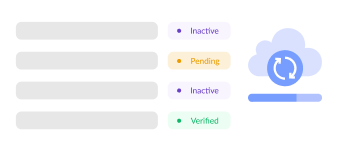
Zenwork Payments imports vendor information, ensuring payments and tax records stay accurate.
Once bills are paid in Zenwork Payments, QuickBooks Online is automatically updated with the payment details, keeping your books in sync.
Effortlessly sync with QuickBooks Online to import payer information, vendors, bills, transactions, chat of accounts, items, locations, classes, and compliance easy.
Manually entering bills is error prone and slow. Zenwork Payments pulls unpaid bills and vendor details directly from QuickBooks Online to ensure accurate and up-to-date financial data. So, you only need to review, approve, and pay bills. You can also set up workflows for faster, easier approvals on the go.
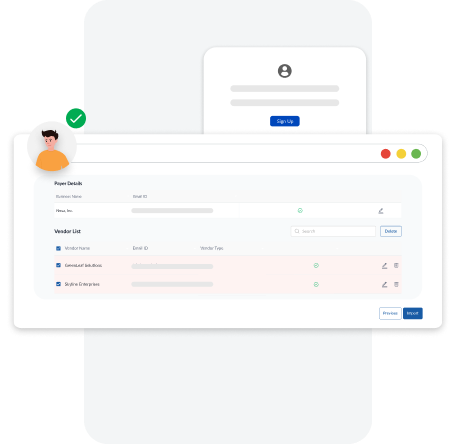
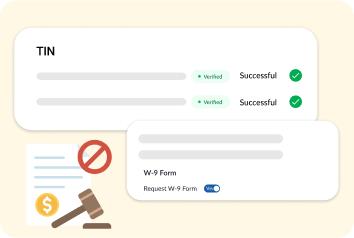
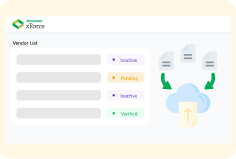
Onboard payers and vendors easily by sharing secured one click link. Vendors also gain access to Zenwork xForce self-service portal to submit their W-9 form, eDelivery consent, and add bank details. You can also add payers and vendors manually, via email invite, or through bulk import.
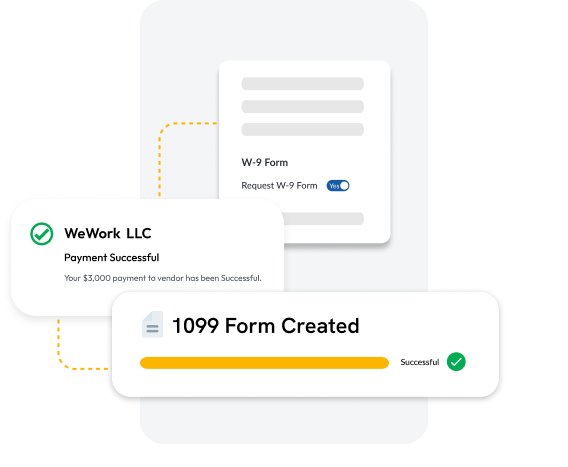
W-9s and payment data are automatically captured and synced into each vendor’s record in real-time. This means no last-minute error, no manual data entry, and no missing information. When it’s time to prepare 1099s, everything you need is already organized and up to date, making 1099 filing effortless during the tax season.
Month-end shouldn’t feel like a last-minute scramble. With instant payment status updates in QuickBooks, your team can close books faster, reduce manual follow-ups, and wrap up financials with confidence.
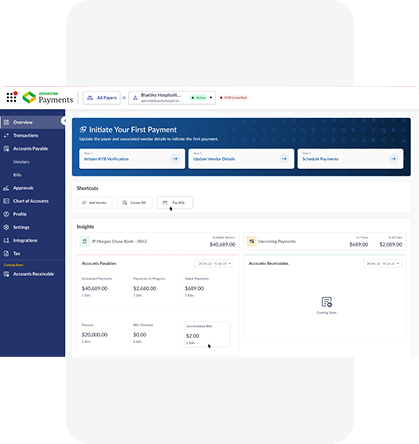
No more toggling between spreadsheets or chasing down missing data. With everything centralized in one dashboard, you get complete visibility into your payables and vendor information. Whether you are tracking due dates, reviewing payment history or reconciling accounts, having it all in one place means fewer errors and more control.
Features you need for bills, transactions, and compliance.
Import vendor information, invoices, and payment details directly from QuickBooks Online to eliminate manual data entry, reducing the risk of errors and enhancing efficiency.
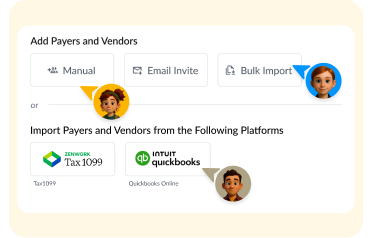
Bring in vendors and payers using QuickBooks Online, Tax1099, bulk import, or manual entry - whatever works best for your workflow.
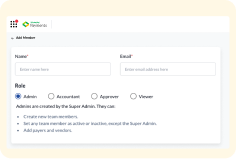
Set up custom approval flows and user roles to match your internal policies and prevent unauthorized actions.
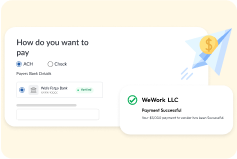
Send payments by ACH or check with full tracking and history. No manual steps or follow-ups needed.
Stay compliant with automatic payments tracking, 1099 preparation, and submission across federal and state requirements.
Provide vendors with a centralized, self-serve platform, ‘Zenwork xForce Vendor Portal,’ to submit invoices, view payments, and access 1099 forms.
This is How we keep the data sync with QuickBooks and Zenwork Payments
Ensure that your sync preferences are set correctly.
Some of your bills may not appear in Zenwork Payments from QuickBooks Online because only bills dated within the current year and unpaid bills carried over from the previous year are imported. Bills from the previous year that were paid before the current year will not be imported.
Payments recorded in QuickBooks Online won't sync over to Zenwork Payments, unless you enable the option to sync 2-ways in sync preferences.
To enable the Two-Way sync, perform the following:
While you can manually sync at any time, you can also enable auto-sync to run automatically.
Note: We recommend syncing at least once daily to keep QuickBooks Online and Zenwork Payments up-to-date and ensure accurate financial reports.
To turn on Auto Sync:
Navigate to Integration and click Sync Data.
Click the Sync icon at the top-right of the page.
Note: Ensure that you have connected to QuickBooks Online.
Note*: These features are being rolled out in phases. If it’s not available in your account yet, stay tuned.
